Recording, uploading and transcoding video straight from the browser
Video on the web continues to grow by leaps and bounds. If you want a cheap-but-good analogy, it's about a tween: it already knows a lot, but still has substantial growth ahead. It's becoming too cool for plugins like Flash and Silverlight, but a lot of the shiny and exciting APIs on the edge of the spec still need to mature a little.
Last year at WebExpo I gave a talk about the future of video on the web, as well as a brief foray into new and exciting features that were on the way. Some of the things I talked about, like Encrypted Media Extensions, were, for the most part, still a pipe dream with few to no working implementations. Now, just a year later, nearly all of the things discussed in that talk have meaningful implementations in most modern browsers.
I recently gave a talk at Developer-Week about how the future of video on the web has arrived. During the talk we walked through real world examples of each "future" feature and, amazingly, talked about how each of the features could be (cautiously) used in the wild today.
One of those features was WebRTC and using the APIs individually. We built a simple example of using getUserMedia to request a user's webcam and display it in a video element. To take this a step further, let's take that example and use it to save, then transcode content directly from the browser.
Simple Example
Before we start on taking things further, let's take a look at the initial, simpler example I showed during the presentation. All we'll do here is request a user's video stream, and show that in a video element on the page. We'll be using jQuery for the more advanced example, so we'll go ahead and start using it here.
// Do the vendor prefix dance
navigator.getUserMedia  = navigator.getUserMedia    || navigator.webkitGetUserMedia ||
                          navigator.mozGetUserMedia || navigator.msGetUserMedia;

// Set up an error handler on the callback
var errCallback = function(e) {
  console.log('Did you just reject me?!', e);
};

// Request the user's media
function requestMedia(e) {
  e.preventDefault();

// Use the vendor prefixed getUserMedia we set up above and request just video
  navigator.getUserMedia({video: true, audio: false}, showMedia, errCallback);
}

// Actually show the media
function showMedia(stream) {
  var video = document.getElementById('user-media');
  video.src = window.URL.createObjectURL(stream);

video.onloadedmetadata = function(e) {
    console.log('Locked and loaded.');
  };
}

// Set up a click handler to kick off the process
$(function() {
  $('#get-user-media').click(requestMedia);
});
Now we just need the button and the video element and we're ready to go.
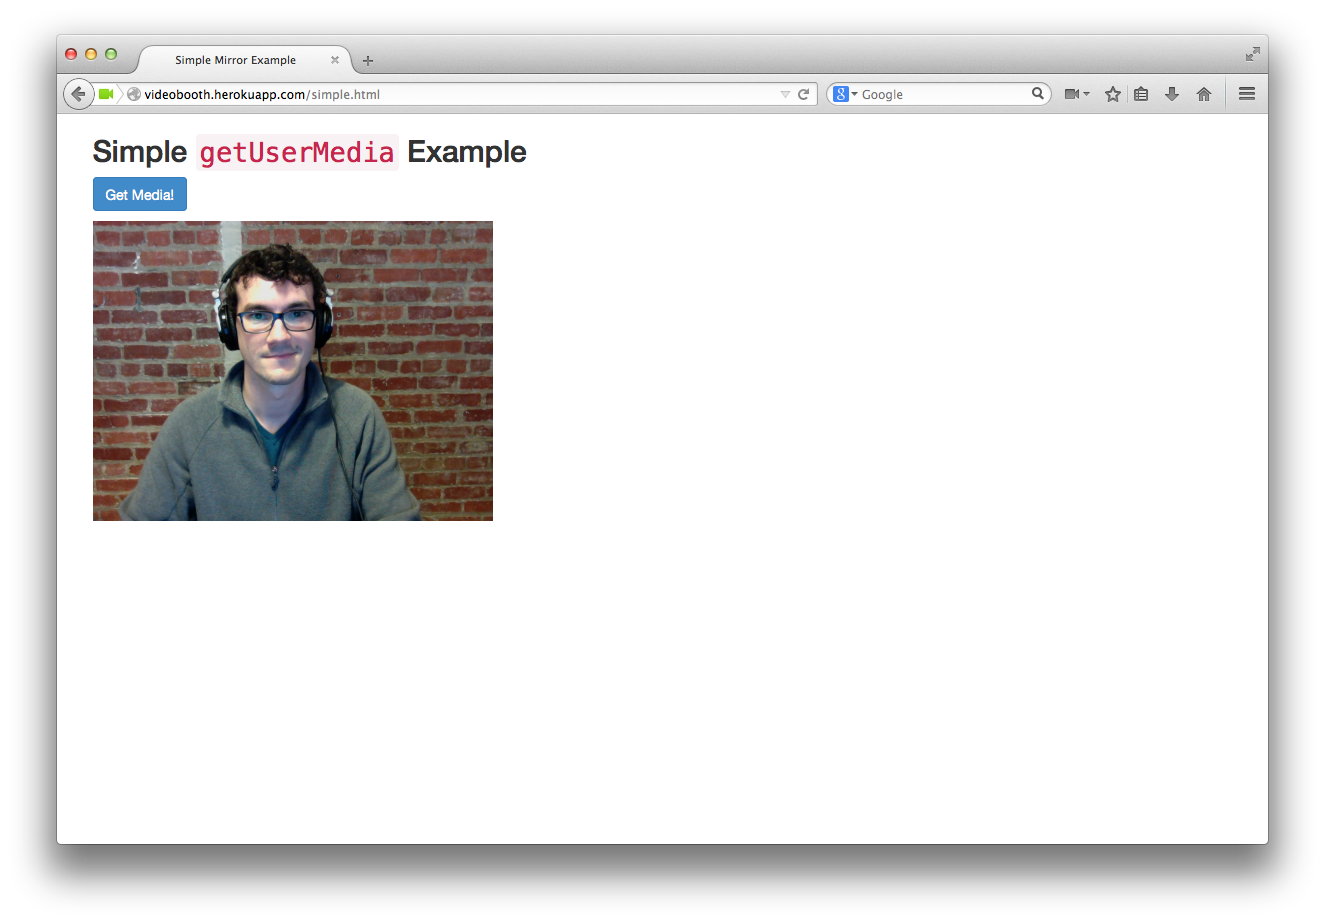
After clicking the "Get Media!" button and allowing the browser access to your camera, the end result should look something like this:

This demo should work Firefox, Chrome, or Opera. Live example!
Now you have access to the webcam through the browser! This example is fun, but pretty useless since all we can do is show someone themselves (mirror app?).
Setup
Note - Before we get started, I need to be clear that the example we're building only works in Firefox. I'll go into this more later, but the tl;dr is that Firefox is the only one that's implemented the MediaRecorder API at this point. If you want to make this work in Chrome as well, there are projects such as RecordRTC and MediaStreamRecorder.
We need a dead simple server side component for this example, but it only needs to do two things: 1. Return a valid AWS policy so we can upload directly from their browser. 2. Submit an encoding job to Zencoder.
I like to use the Express framework for Node for examples like this, but if you're more comfortable using something else, like Sinatra, feel free to ignore this example and use whatever you'd like. Since we're more concerned about the client side code, I'm not going to dig into the server side implementation, but feel free to comment if you have questions.
var S3_BUCKET = 'YOUR-S3-BUCKET-NAME';

<p>var express    = require('express');
var path       = require('path');
var logger     = require('morgan');
var bodyParser = require('body-parser');
var crypto     = require('crypto');
var moment     = require('moment');
var AWS        = require('aws-sdk');
var s3         = new AWS.S3({ params: { Bucket: S3_BUCKET }});
var zencoder   = require('zencoder')();

var app = express();

app.set('port', process.env.PORT || 3000);
app.use(logger('dev'));
app.use(bodyParser.json());
app.use(bodyParser.urlencoded());
app.use(express.static(path.join(__dirname, 'public')));

app.post('/process', function(req, res) {
  // Build up the S3 URL based on the specified S3 Bucket and filename included
  // in the POST request body.
  var input = 'https://'+S3_BUCKET+'.s3.amazonaws.com/'+req.body.filename;
  createJob(input, req.body.email, function(err, data) {
    if (err) { return res.send(500, err); }

    res.send(200, data);

  });
});

app.post('/upload', function(req, res) {
  var cors = createS3Policy();
  res.send(201, { url: 'https://'+S3_BUCKET+'.s3.amazonaws.com/', cors: cors });
});

function createS3Policy() {
  var policy = {
    "expiration": moment().utc().add('days', 1).toISOString(),
    "conditions": [
      { "bucket": S3_BUCKET },
      { "acl":"private" },
      [ "starts-with", "$key", "" ],
      [ "starts-with", "$Content-Type", "" ],
      [ "content-length-range", 0, 5368709120 ]
    ]
  };

  var base64Policy = new Buffer(JSON.stringify(policy)).toString('base64');
  var signature = crypto.createHmac('sha1', AWS.config.credentials.secretAccessKey).update(base64Policy).digest('base64');

  return {
    key: AWS.config.credentials.accessKeyId,
    policy: base64Policy,
    signature: signature
  };
}

function createJob(input, email, cb) {
  var watermark = {
    url: 'https://s3.amazonaws.com/zencoder-demo/blog-posts/videobooth.png',
    x: '-0',
    y: '-0',
    width: '30%'
  };

  zencoder.Job.create({
    input: input,
    notifications: [ email ],
    outputs: [
      { format: 'mp4', watermarks: [watermark] },
      { format: 'webm', watermarks: [watermark] }
    ]
  }, cb);
}

var server = app.listen(app.get('port'), function() {
  console.log('Express server listening on port ' + server.address().port);
});
Just a note, this example should mostly work out of the box, but you'll need to have AWS configurations already set up, as well as aZENCODERAPIKEY` environment variable. You'll also need to have CORS configured on the bucket you use. Here's an example CORS configuration that will work:
Recording user media
In the simple example above, we requested a user's media using the getUserMedia API, so now we need a way to record that content. Luckily, there's a shiny new API called, appropriately, MediaRecorder. Firefox is the only browser that currently supports it (as of version 25), but there are projects like Whammy that can act as a pseudo-shim for other browsers.
The API is simple, we just need to take the same stream we used for playback in the simple example, and use it to create a new instance of MediaRecorder. Once we have our new recorder, all we have to do is call start() to begin recording, and stop() to, you guessed it, stop.
var recorder = new MediaRecorder(this.stream);
recorder.start(); // You're now recording!
// ...A few seconds later...
recorder.stop();
Getting the recorded media
Ok great, we started and stopped a webcam recording...how do we see it?
You can listen for the ondataavailable event on the instance of MediaRecorder we created to record. When it's done, it will include a new Blob that you can play back just like you did the original user media.
// We'll keep using the same recorder
recorder.ondataavailable = function(e) {
  var videoBlob = new Blob([e.data], { type: e.data.type });
  var player = document.getElementById('playback-video-el');
  var blobUrl = URL.createObjectURL(videoBlob);
  player.src = blobUrl;
  player.play();
}
If you've been following along and building out these examples, right about now you're probably trying to replay the video and getting frustrated. Sadly, nothing you do "right" is going to work here...autoplay on the video element nor calling play() or setting currentTimeon the ended event is going to do what you want.
This seems to simply be a Firefox issue with playing back these blobs. The ugly, but functional workaround is to simply replace the source on the ended event if you want the video to loop.
player.onended = function() {
  video.pause();
  video.src = blobUrl;
  video.play();
}
This blob you have is a (mostly) functional WebM video! If you create an anchor tag with this blob url as the source, you can right click and save the file locally. However, even locally this file doesn't seem behave quite right (OS X seems to think it's an HTML file). Besides, if you wanted, say, an h264 version...
This is where Zencoder fits nicely into the picture. Before we can process it, we need to get the file online so Zencoder can access it. We'll use one of the API endpoints we created earlier, /upload to grab a signed policy, then use that to POST the file directly to S3 (I'm using jQuery in this example).
function uploadVideo(video) {
  $.post('/upload', { key: "myawesomerecording.webm" }).done(function(data) {
    // The API endpoint we created returns a URL, plus a cors object with a key, policy, and signature.
    formUpload(data.url, data.cors.key, data.cors.policy, data.cors.signature, filename, recording);
  });

  function formUpload(url, accessKey, policy, signature, filename, video) {
    var fd = new FormData();</p>

    fd.append('key', filename);
    fd.append('AWSAccessKeyId', accessKey);
    fd.append('acl', 'private');
    fd.append('policy', policy);
    fd.append('signature', signature);
    fd.append('Content-Type', "video/webm");
    fd.append("file",  video);

    $.ajax({
      type: 'POST',
      url: url,
      data: fd,
      processData: false,
      contentType: false
    }).done(function(data) {
      cb(null);
    }).fail(function(jqxhr, status, err) {
      cb(err);
    });
  }
}

uploadVideo(videoBlob);
Now you've got a video on an S3 bucket, so all we have to do is actually process it. If you noticed, we added an email to the /process endpoint earlier so we can get the job notification (including download links for the video) sent directly to us when it's done.
function process(email, filename) {
  $.post('/process', {
    filename: filename,
    email: email
  }).done(function(data) {
    console.log('All done! you should get an email soon.');
  }).fail(function(jqXHR, error, data) {
    console.log('Awww...sad...something went wrong');
  });
};

process('mmcclure@brightcove.com', "myawesomerecording.webm");
A few seconds later you should get an email congratulating you for your brand new, browser-recorded videos. The links included are temporary, so make sure you download them within 24 hours or change the API endpoint we created to upload the outputs to a bucket you own.
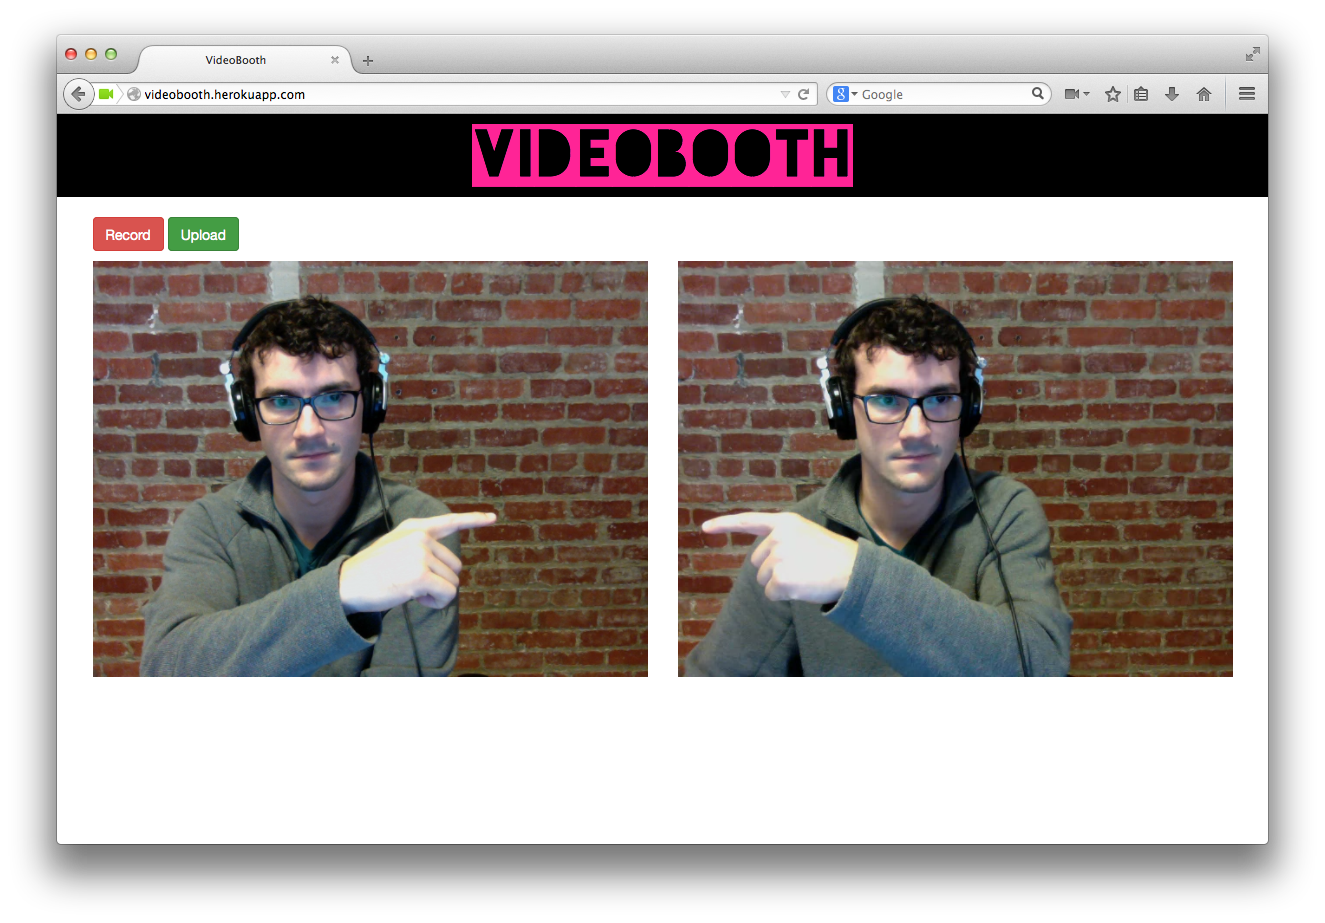
I created a demo to showcase this functionality, including some minor styling and a not-so-fancy interface. I've called it VideoBooth, but feel free to clone the project and run with it! You can also play with the working demo on Heroku.

