
Note: This is a a refactored version of a blog post on the same topic from May 28.
Video is complicated. If you've ever used FFMPEG on the command line, you know the number of flags available can be staggering. Zencoder allows developers to focus on building applications around video without needing to build (or scale) their own encoding solution from scratch.
That being said, developing a full-featured application is difficult, and doing so around Zencoder is no exception. This is the first post in a series that will cover the basics of developing an application around Zencoder's API by doing just that: building an application. Because of the breadth of the material we'll be covering, a basic understanding of web development is assumed.
Implementing updates
In order to show your users when a video is done encoding, you probably poll the Zencoder api for job progress. You don't want your users to have to sit and watch progress bars update, though, so why not let them browse other pages and receive a notification when the job is done? Because Zencoder allows you to publish notifications to any webhook, you can do whatever you want when your server receives them, such as broadcast it to connected clients via WebSockets.
By the end of this post we'll have built a basic application that will send an API request to Zencoder, receive the notifications and update the front end via websockets based on those notifications. We'll be using the resulting application for future posts as well, so to save time we'll start with a basic boilerplate and build up from there.
We'll be using Node.js and Socket.io to create our demo, but you a have lot of options these days when it comes to realtime. If you don't want to worry about the messaging backend, there are services such as PubNub, Pusher, and Firebase.
Setting up the server
In order to get started, you'll need to have Node.js and NPM installed. NPM comes with Node now, so if you already have Node installed you probably have NPM. You can check by running npm in your terminal and if you see some usage instructions you're good to go.

We'll be using Express for our server, which if you come from the Ruby world is pretty similar to Sinatra. Instead of generating an Express application from scratch, download the source for the starting point so we can get on the same page.
$ git clone git@github.com:zencoder/zensockets.git
$ cd zensockets
$ git checkout 1_setup
$ npm install
Before we go any further, you'll need to create a new config.js. There's already a file called config.js.example that has everything ready to edit, so just copy that file and name it config.js.
$ cp config.js.example config.js
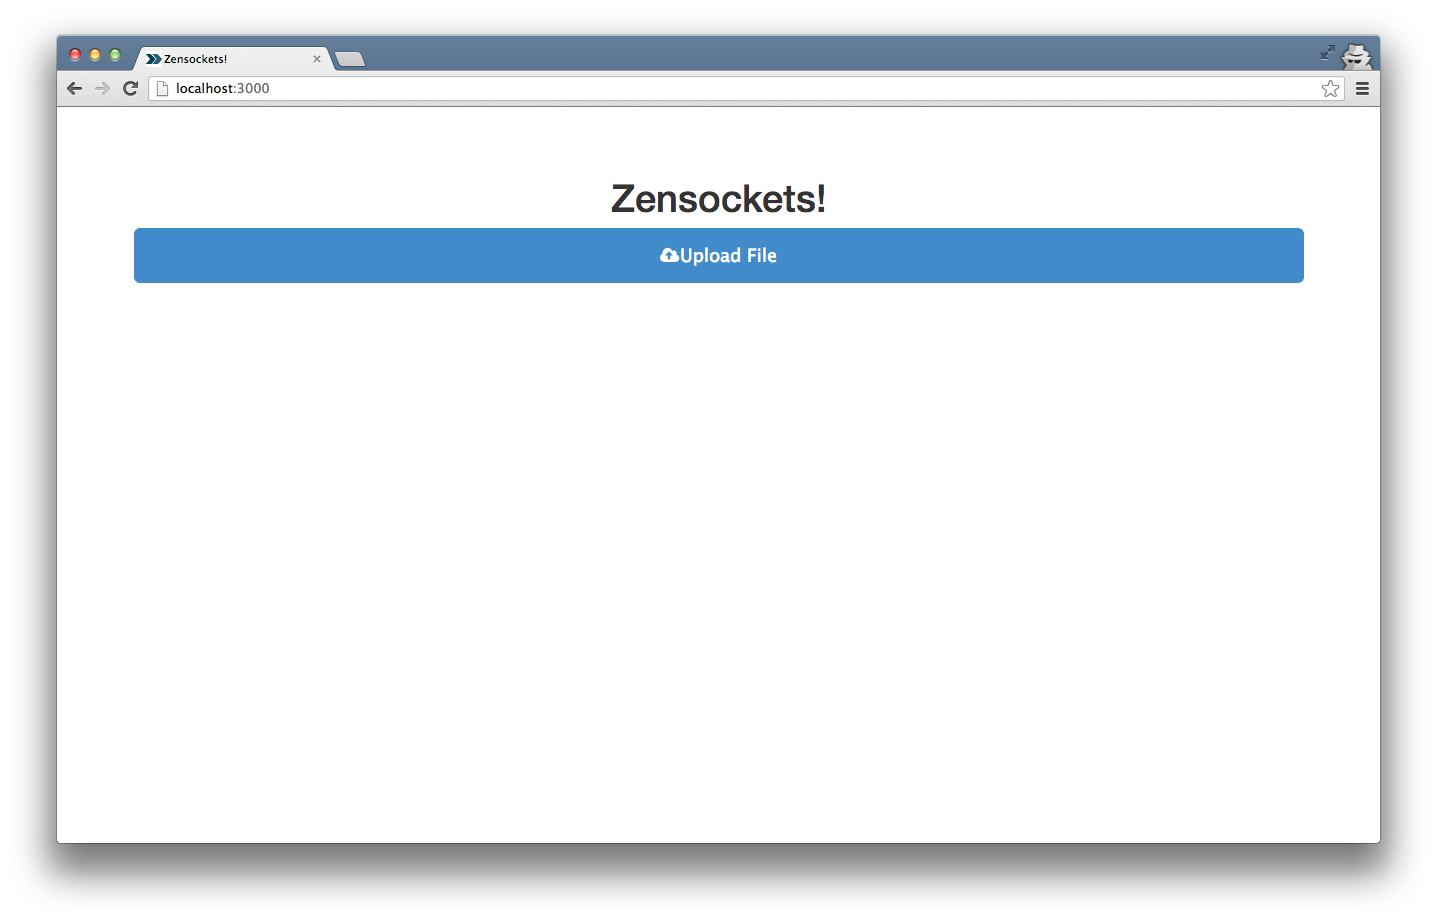
For now, all you need to edit is the Ink File Picker and Zencoder API key fields as well as the Zencoder output_url. Once you're ready, you should be able to start up the server ($ npm start)and and go to localhost:3000 in your browser.
Since we're about to start mucking around with app.js a lot more, now's a good time to install nodemon, which will watch your application's directory for changes and restart the server when they occur. Install Nodemon via NPM ($ npm install nodemon -g) and you can start your server by running $ nodemon app.js.
Send some data through WebSockets
Before we start creating Zencoder jobs left and right, let's test out our WebSockets a little and get to know them. In app.js line 53, you notice we emit a message to the namespace "system" every time a new connection occurs.
io.sockets.on('connection', function (socket) {
  socket.emit('system', { message: 'Connected!' });
});
Whenever someone connects, just that person will receive the message "Connected!" on the system namespace. In public/javascripts/script.js you'll see on line 27 that we listen for these messages and log them. If you open your browser console, you should see at least one of these messages, with more showing up when you start/stop the Node server.
socket.on('system', function (data) {
  console.log(data);
});
Now when you restart your browser, you should see an object with "Connected!" being logged in your browser's console.
Start Sending API requests to Zencoder
We'll be using the Zencoder Node library which is already installed and ready to use in the sample code. On line 13 of app.js, we create a new Zencoder client using the API key we specified in config.js.
var zc = new Zencoder(config.zencoder.api_key);
Now it's time to create a route that actually submits a create job request to Zencoder. We'll use the outputs array specified in our configuration, but we want to use the URL we receive from File Picker as the input location. This will be very similar to how we did things in our blog post on using File Picker with Zencoder.
First let's get the upload button working and have it send a POST request to the /job route when a file is successfully uploaded. Open script.js again and add a listener for the click event to the "Upload File" button. When File Picker is done uploading the file, we want to send a POST request containing the URL of the file, along with what namespace to post the notification to (for now we'll just use "system" like before).
$('#pick').click(function(e) {
  e.preventDefault();
  filepicker.pick(function(FPFile){
    // Disable the picker button while we wait
    $('#pick').addClass('disabled');
    // Set the input source to the newly uploaded file and pass along the user's channel
    videoSrc = FPFile.url;
    // Build a request body with the input file and pass the personal channel to the server
    var request_body = { input_file: videoSrc, channel: 'system' };
    // Actually POST the request
    $.post('/job', request_body, function(data) {
      // enable the button again
      $('#pick').removeClass('disabled');
      console.log('Sent job request...');
    });
  }, function(FPError){
    // Yikes...something went wrong.
    console.log(FPError.toString());
  });
});
Now add the route to app.js. We already have a placeholder in the boilerplate, so just remove the 501 response. We'll use the Zencoder client we created earlier to interact with the Zencoder API. The outputs are coming from the configuration file so we can easily adjust them in the future if needed.
app.post('/job', function(req, res) {
  var input = req.body.input_file;
  var channel = req.body.channel;

  zc.Job.create({
    input: input,
    outputs: config.zencoder.outputs()
  }, function(err, data) {
    if (err) {
      io.sockets.emit(channel, {error: true, type: 'job.create', message: 'Something has gone terribly wrong...', error: err});
      return;
    }
    io.sockets.emit(channel, {type: 'job.create', message: 'Job created!', job_id: data.id, outputs: data.outputs})
  });
  res.send(202, {message: 'Success!', notification_namespace: channel});
});
The request to Zencoder is sent asynchronously, so we don't want to have to wait for the Zencoder response before responding to the user. Instead, we'll send a 202 response no matter what, then inform the client about the job via WebSockets when we receive a response from Zencoder.
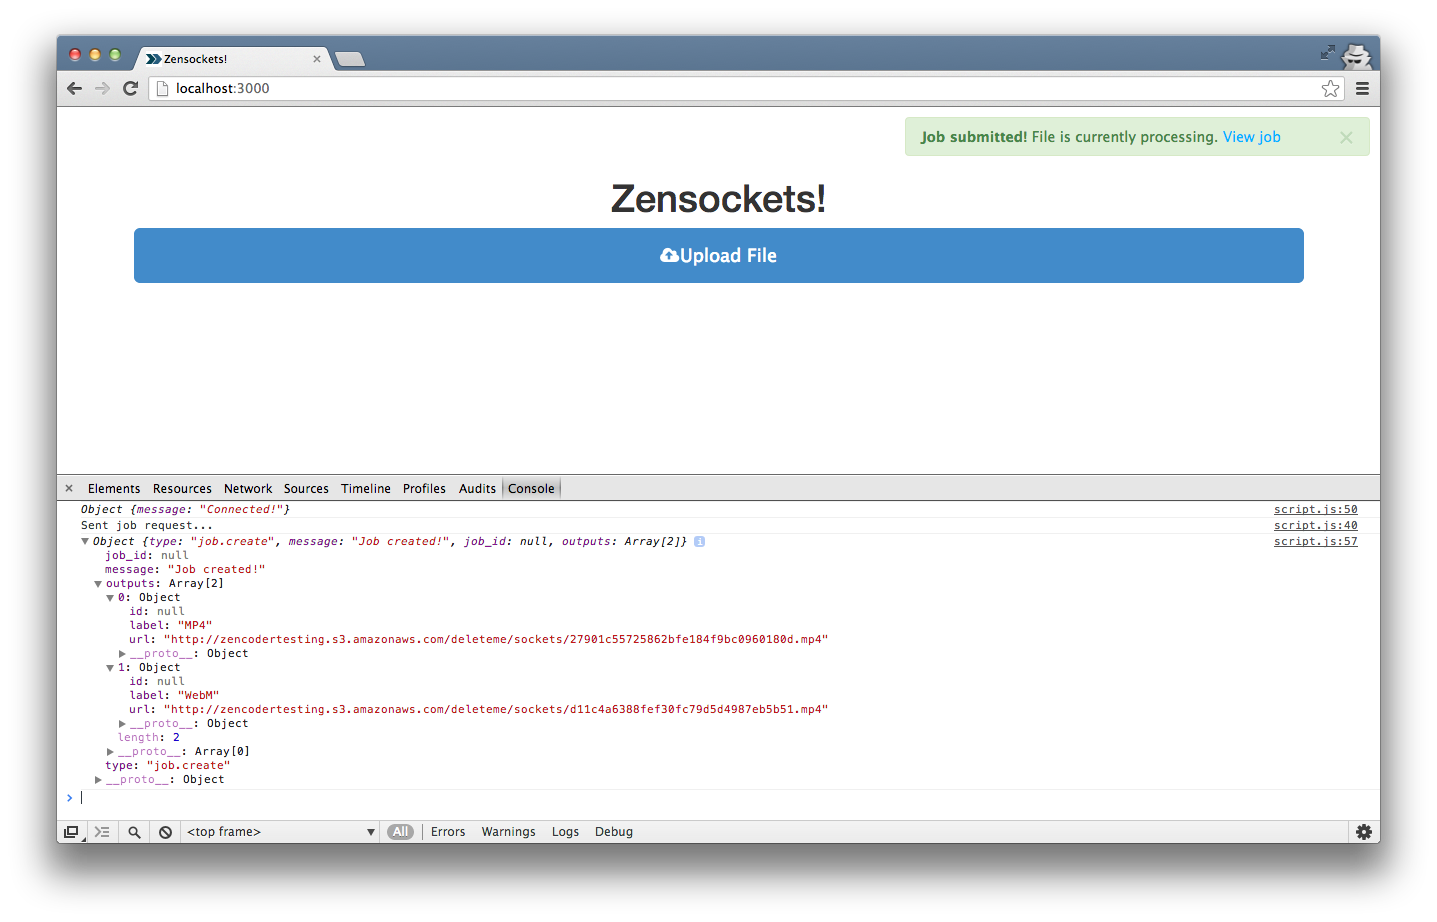
Refresh your browser and with your developer console open click "Upload File". When you're done uploading a file, you should see "Sent job request…" followed shortly by an object, which if the job was successful, will contain job_id and an outputs array.
Keeping things to yourself
Now open up a few different browser windows and point them all to your local Zensockets instance with the console open. If you upload a file on one of them, all of them should receive the same successful job message. This is because all connected browsers are listening to the same "system" namespace. We'll fix this by using a unique namespace for each user.
If you noticed, in our boilerplate code for script.js, lines 11-24 all deal with a personalChannel variable. All this is doing is seeing if there's already a personalChannel saved locally in the browser, and if not, generating a random string and saving it. This way, a user can keep using the same unique namespace even after refreshing the browser (if their browser supports localStorage).
var personalChannel;
if (localStorage) {
  if (localStorage.personalChannel) {
    // use the channel they've already got if one exists
    personalChannel = localStorage.personalChannel
  } else {
    // Nothing already there, so create a new one
    personalChannel = Math.random().toString(36).substring(7);
    localStorage.personalChannel = personalChannel;
  }
} else {
  // The user doesn't support localStorage, but give them a channel anyway
  personalChannel = Math.random().toString(36).substring(7);
}
All we have to do now is use this namespace instead of "system" when we send our POST request to /jobs.
// Filepicker Button
$('#pick').click(function(e) {
  e.preventDefault();
  filepicker.pick(function(FPFile){
    ...
    var request_body = { input_file: videoSrc, channel: personalChannel };
    …
  });
});
Note: At this point while we're still just testing to make sure we're handling the response from Zencoder correctly, setting mock to true will return a response without creating a job.
zc.Job.create({
  mock: true,
  test: true,
  …
We now need update the client to listen to this new namespace. Since we know this namespace when the page loads, we can start listening for messages on it just like "system". While we're creating this channel, let's start displaying notifications in the browser rather than just logging them to console. The boilerplate came with a simple displayNotification() function that takes an alert type, title, and message and displays a Growl-like notification in the upper-right corner of the browser, so we'll use that to display either a success or error notification based on Zencoder's response.
// Listen for system-wide messages
socket.on('system', function (data) {
  console.log(data);
});

// Listen for user-specific messages
socket.on(personalChannel, function(data) {
  if (data.type == 'job.create') { // Just the initial job created callback
    if (!data.error) {
      displayNotification('success', 'Job submitted!', 'File is currently processing. <a href="https://app.zencoder.com/jobs/' + data.job_id + '" target="_blank">View job</a>');
    } else {
      displayNotification('error', 'Request failed', 'We were unable to create a job at this time. Sorry about that.');
    }
  }
});
At this point, if you refresh your browser and upload a file, you should get an alert saying the job was created. If you previously set mock to true, you'll notice the "View Job" link is currently broken and the job / output IDs are all null.
Time for actual notifications
We can use this same unique namespace for notifications coming from Zencoder as well. Let's create a new route in app.js that will accept Zencoder's notifications and broadcast them to the browser. Find the placeholder for the /notify/:id route and replace it with something like this.
app.post('/notify/:id', function(req, res) {
  // Let the client know
  io.sockets.emit(req.params.id, req.body);

  // Let Zencoder know we got the message
  res.send(202, {message: "Thanks, Zencoder! We will take it from here."});
});
Now we need to update our Zencoder API request to include notifications sent to this new url, where the id parameter is our unique identifier.
app.post('/job', function(req, res) {
  var input = req.body.input_file;
  var channel = req.body.channel;
  var notification_url = config.zencoder.notification_url + channel;

  zc.Job.create({
    mock: true,
    input: input,
    notifications: notification_url,
    outputs: config.zencoder.outputs()
  }, function(err, data) {
    if (err) {
      io.sockets.emit(channel, {error: true, type: 'job.create', message: 'Something has gone terribly wrong...', error: err});
      return;
    }
    io.sockets.emit(channel, {type: 'job.create', message: 'Job created!', job_id: data.id, outputs: data.outputs});
  });
  res.send(202, {message: 'Success!', notification_namespace: channel});
});
At this point, you're probably wondering what to set the notification url to if you're working locally. The Fetcher gem can work, and is currently being rewritten to better support a use case like this, but for now if you want to use it you'll need to start fetcher with the unique notification URL each time (zencoder_fetcher -u localhost:3000/notify/3lj1qi API_KEY). It may be easier for you to use something like ngrok, which allows you to access localhost from a public URL. If you decide to use ngrok, your config.js file will look something like this:
config.zencoder = {
  api_key: 'abcscsdlfkjlkfj0223sdflk24fs', // API key
  output_url: 's3://some-s3-bucket/zensockets/', // Output location for your transcoded videos
  notification_url: 'https://abcd123ab.ngrok.com/notify/', // Where Zencoder should POST notifications
  outputs: function() {
   ...
  }
}
Now we need to modify script.js to take care of these new notifications. Let's create a new function that will parse the notification and display the correct message to the user.
function jobState(notification) {
  switch(notification.job.state) {
    case 'failed':
      displayNotification('error', 'Job Failed!', 'Some of the outputs may have succeeded, but at least one failed.');
      break;
    case 'finished':
      displayNotification('success', 'Job Success!', 'Congratulations, the job is finished.');
      break;
  }
}
Now we need to pass the notification to this function when it comes in, so we need to modify our code listening on the personal namespace to handle these new types of notifications. When we let the browser know about a successful job create call, we include a type key with the value "job.create". We're already checking for that type, so if it's anything else pass it off to the new jobState() function.
socket.on(personalChannel, function(data) {
  if (data.type == 'job.create') { // Just the initial job created callback
    if (!data.error) {
      displayNotification('success', 'Job submitted!', 'File is currently processing. <a href="https://app.zencoder.com/jobs/' + data.job_id + '" target="_blank">View job</a>');
    } else {
      displayNotification('error', 'Request failed', 'We were unable to create a job at this time. Sorry about that.');
    }
  } else {
    // It's a job notification from Zencoder
    jobState(data);
  }
});
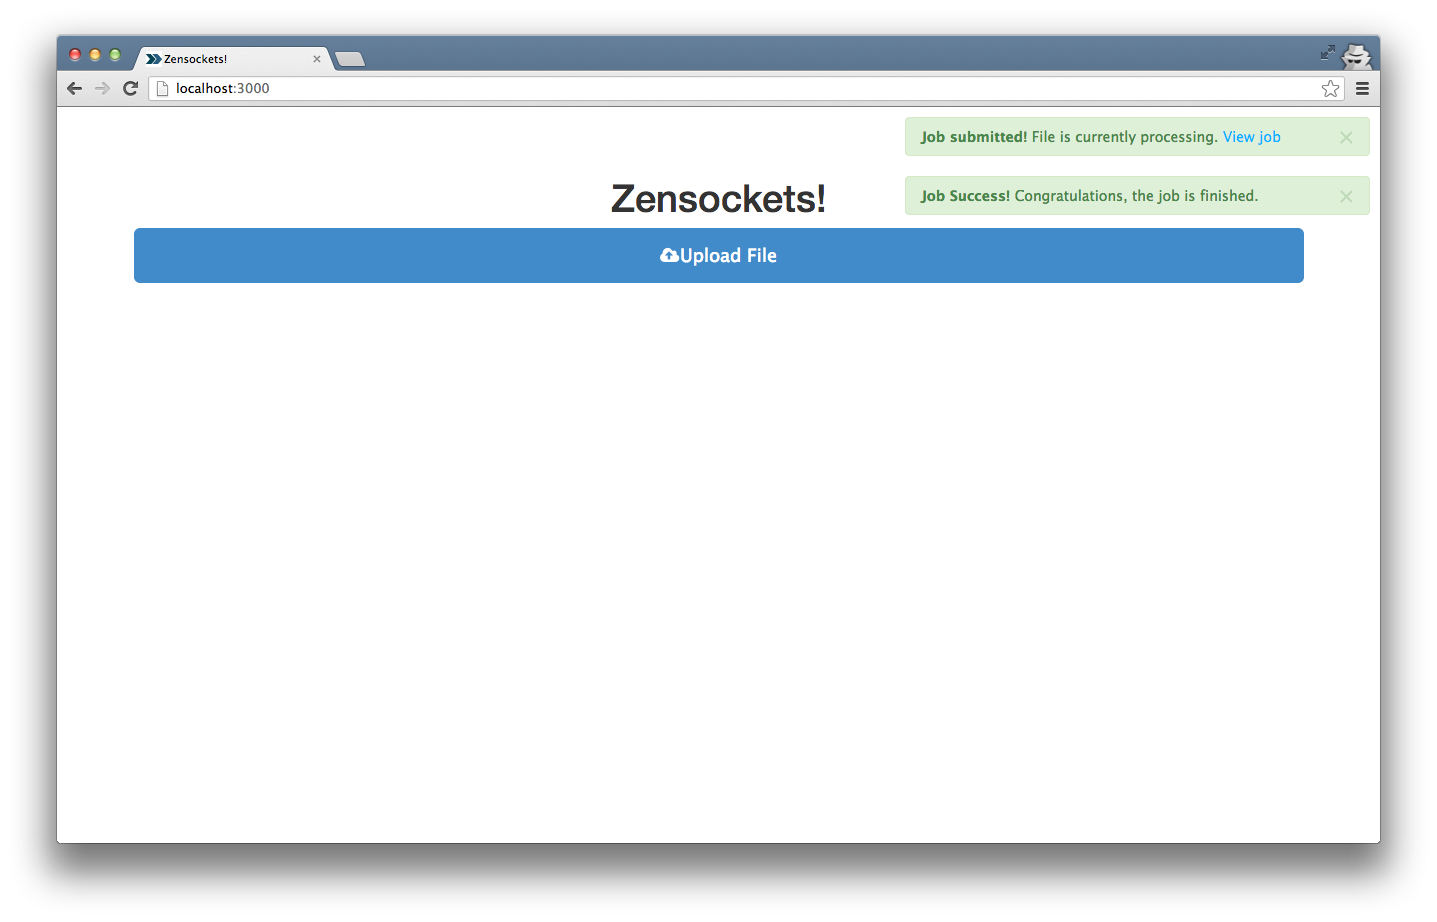
Now when you upload a file, after a little while you should see more notifications popping up! If you don't see anything at first, make sure you removed "mock: true" from your API request so a job is actually created.
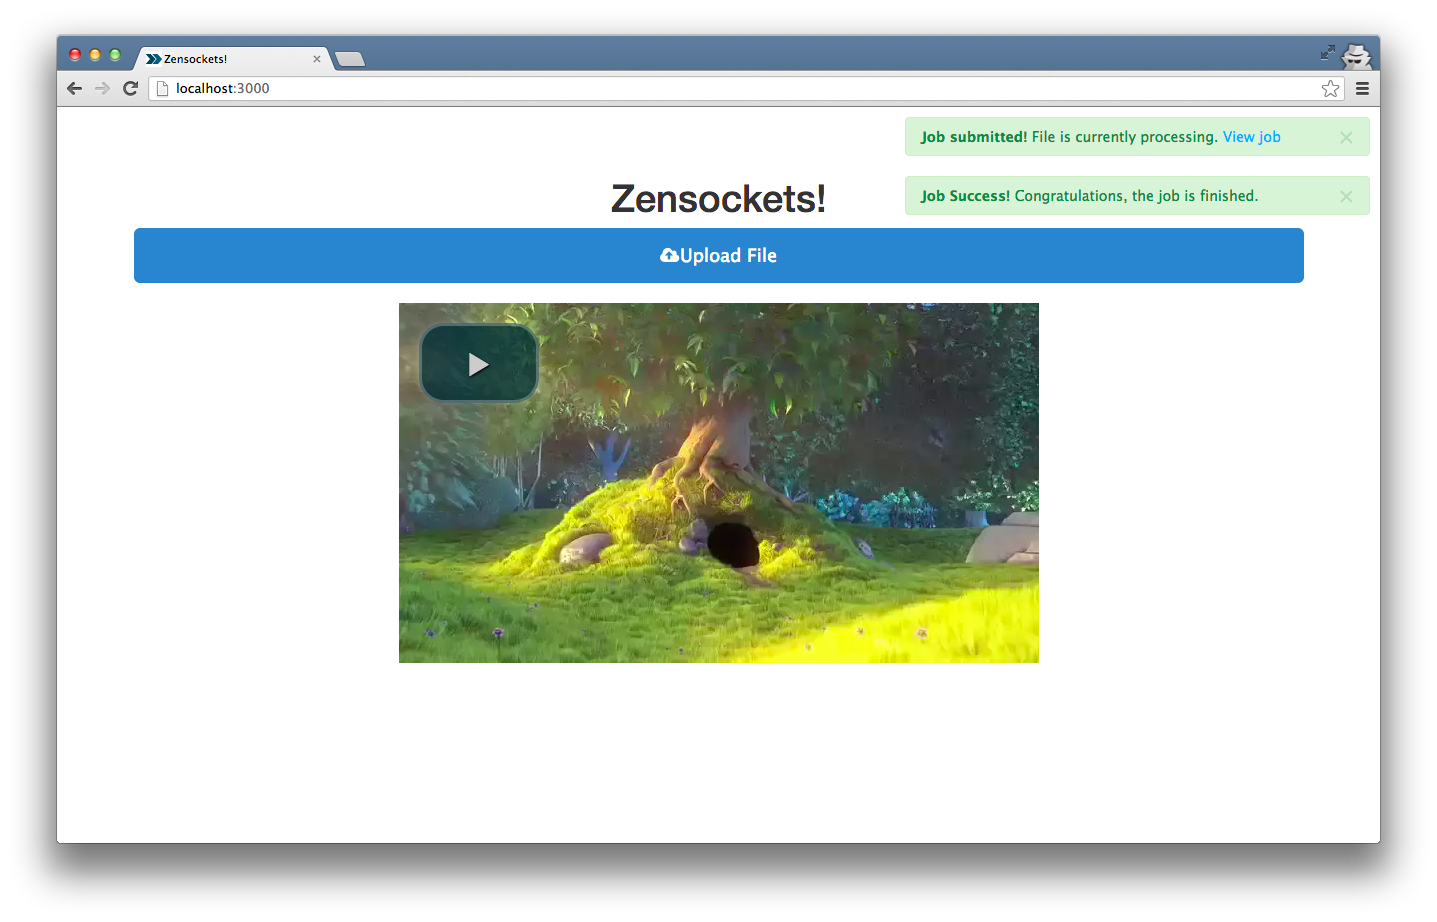
Since we have everything to play the video when the video's done, let's show it to the user. We can simply create a <video> element and add the sources and poster based on the notification.
function jobState(notification) {
  switch(notification.job.state) {
    case 'failed':
      displayNotification('error', 'Job Failed!', 'Some of the outputs may have succeeded, but at least one failed.');
      break;
    case 'finished':
      displayNotification('success', 'Job Success!', 'Congratulations, the job is finished.');
      $('#outputs').html('<video id="transcoded" class="video-js vjs-default-skin" height="360px" width="640"></video>');
      videojs("transcoded", {controls: true}, function() {
        var video = this;
        var outputs = notification.outputs;
        var sources = [];
        $.each(outputs, function(index, value) {
          // we only have two outputs, so if it's not mp4 it's webm
          if (value.format == 'mpeg4') {
            sources.push({type: "video/mp4", src: value.url});
            video.poster(value.thumbnails[0].url);
          } else {
            sources.push({type: "video/webm", src: value.url});
          }
        });
        // set the source
        video.src(sources);
      });
      break;
  }
}
If you upload a new video now you should eventually see two notifications appear, as well as a player for your video. Try uploading a video and then refreshing the page. Even though the original notification might go away, you'll still get the success notification and player when the job is complete.
You can find all of the source for this walkthrough on GitHub, with a different branch for each step.
- 1_setup: Starting point for the tutorial.
- 2_submitting-jobs: Submitting jobs after uploading a file and receiving a global notification.
- 3_personal-namespace: Restricting notifications to be user-specific.